If you’ve been dreaming of adding a cat or kitten to your family, it’s a good idea to take a look at how much it’s likely to cost you to own a cat. As well as the one-off costs like adoption, or spaying or neutering, you’ll have to factor in ongoing costs like food, recurring medical expenses, and pet insurance.
Before you take the plunge, we’ve broken down how much owning a cat costs per year. The amounts we’ve given are estimates and will depend on where you live, the availability of veterinary care in your area, and the types of products like food or litter you choose to use. The most significant variable will be whether or not your cat will need more than routine vet care, which of course, isn’t something you’re going to be able to plan for!
As a general overview, a cat can cost annually between $200-4000 and will depend from a lot of factors.
But forewarned is forearmed, so knowing a rough budget for annual costs before you fall in love with a cat at a shelter is definitely a good idea.

Bringing Home a New Cat: One-Time Costs
Once you’ve made the decision to buy or adopt a cat, you’ll have to be ready to invest some funds in several one-time costs. As a rough guide, these can include the adoption fees from a shelter or the cost of a kitten from a breeder. It will also include things like initial vaccinations, spaying or neutering, and one-off purchases like a cat carrier, cat door, bed, food, and bowls.
Free
If your neighbor or friend’s cat has had a litter of kittens accidentally, they may be offering them as free to a good home. While this might seem like a bargain, remember that the cost of your kitten is a one-off expense and pales in comparison to the ongoing annual costs of keeping your new cat happy, healthy, and well-fed.
That’s not to say that getting a free kitten is a bad idea; just remember that their annual costs won’t be any less than any other cat! Depending on the health of the parent cats, you may find that your free kitten requires more veterinary care than a kitten from a shelter or breeder, as those little guys will have had their health checked before they travel to their new homes.
Adoption
- $100-250
Adopting a cat or kitten from a shelter is a great way to provide a loving home for an animal in need, but it’s also usually better value than buying a kitten from a breeder. If you don’t have a specific breed in mind, then most shelters are excellent at matching your family circumstances to a cat with the right personality for you. The adoption fee usually covers a shelter’s basic costs, including veterinary fees and food.
Breeder
- $200-5000
Depending on the cat breed you’re interested in, you’ll find a huge range of different prices. Even if you choose a more expensive breed, the initial cost of your new kitten will still pale in comparison to the cost of keeping them over their lifetime. Whichever breed you choose, it’s important to take the time to find a reputable breeder who can provide references, health records, and more.
- British Shorthair: $1000
- Maine Coon: $1200
- Persian: $1300
- Sphynx: $3000
- Bengal: $1000-$10000
Supplies
- $120-450
If you’re a first-time cat owner, then you’ll need to invest in most or all of this list before you bring your new furry friend home. You can definitely make the budget choice in some areas, but in others, like microchipping, the cost will likely be a flat rate. If you’ve owned a cat before, you may have some of these supplies already, in which case your initial outlay here will be lower.

List of Cat Care Supplies and Cost
| ID Tag and Collar | $15 |
| Spay/Neuter | $145 |
| X-Ray Cost | $100 – $250 |
| Ultrasound Cost | $250 – $500 |
| Microchip | $45 – $55 |
| Teeth Cleaning | $150 – $300 |
| Bed | $30 |
| Nail Clipper | $7 |
| Brush | $8 |
| Litter Box | $25 |
| Litter Scoop | $10 |
| Toys | $30 |
| Carrier | $40 |
| Food and Water Bowls | $10 |
| Cat Flap (optional) | $50 |
| Scratching Post | $40 |
Annual Expenses
- $200-4000 per year
When it comes to the annual costs of keeping a cat, there’s a huge range. This figure will depend on what food and litter you choose to buy, as well as which medications your cat needs. If your cat requires regular medical care, then your costs will be far higher than if they only visit the vet once a year.
Health Care
- $75–11000 per year
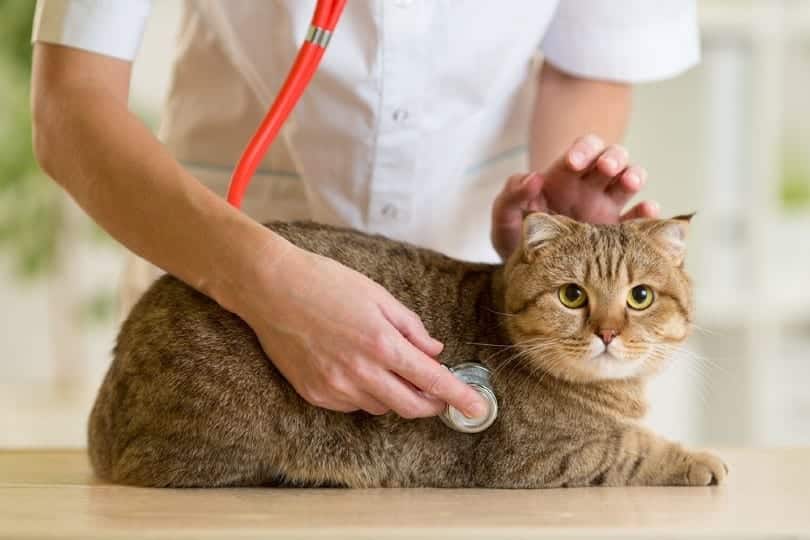
Vet bills and health care have the potential to easily take up the largest chunk of your budget. Routine vet expenses can be fairly low, especially if you take preventative action like brushing your cat’s teeth. Certain breeds may need more vet attention than others. And of course, cats can have accidents or develop ongoing health conditions that may require large financial outlays.
Check-Ups
- $40-100 per year
Most vets recommend that your cat comes in for a check-up once a year. You can sometimes combine this with their annual vaccination appointment. Your vet will want to check your cat’s overall health, including if they need any procedures like teeth cleaning. Once your cat is over nine years of age, your vet may suggest bringing them in twice a year.
Vaccinations
- $0-100 per year
After your kitten’s initial boosters, they’ll most likely need booster shots every 1-7 years. The frequency of the shots depends on the type of vaccination used, your location, your cat’s lifestyle, and your own preferences when it comes to your cat’s vaccination schedule.
Dental
- $15-500 per year
Plenty of domestic cats suffer from periodontal disease, which can sometimes result in them needing a professional teeth cleaning appointment. One way to reduce this large overhead is to brush your cat’s teeth as often as possible. You can also get dental treats that help to scrape away plaque and tartar.
Treatments for Parasites
- $20-100 per year
Most cats will require regular treatments for parasites like fleas, ticks, worms, and so on. Your vet will be able to advise you on the best course of treatments for your cat and their lifestyle. Generally, indoor cats will require less treatment.
Emergencies
- $0-10,000 per year
At some point, your cat may have an accident that requires emergency medical care. Whether they’ve eaten something they shouldn’t have, been in a road traffic accident, or had a urinary tract infection, you should think about how you would meet these medical bills if you had to.
Medications for On-Going Conditions
- $0-1000 per year
If your cat develops an ongoing condition like kidney disease, diabetes, or anything else that requires continuous treatment, your monthly costs will increase as a result. Different medications will cost different amounts, but once an on-going condition has been diagnosed, your cat may need medication for the rest of their life.
Insurance
- $150-200 per year
Choosing to insure your kitten as soon as you get them can be a good way to future-proof yourself if they develop a medical condition later in life. Policies will vary depending on the age of your cat, their breed, and where you live. You can insure against accidents and illnesses or choose a comprehensive plan.
Food
- $100-2500 per year
There’s a huge range of choices when it comes to cat food, so here you can either push the boat out and choose a luxury brand or economize by selecting a budget option. Low-cost food shouldn’t be low-quality, though, so check you’re buying the best you can afford and that it includes a high percentage of meat protein.
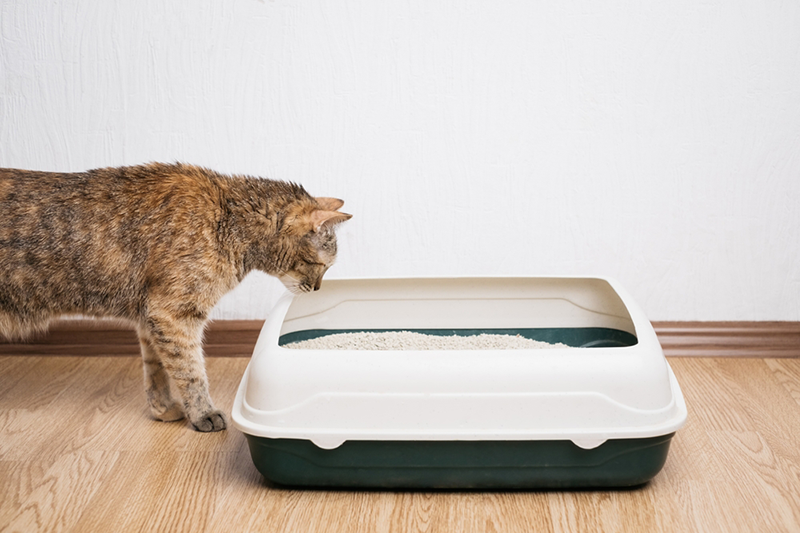
Environmental Maintenance
- $200-350 per year
Whether or not your cat lives indoors or not, you’ll likely have a litter box set up for them. An indoor cat will use roughly 20 pounds of clay litter per month, so this plus the accessories you may use can quickly add up. The type of litter can affect your costs, as some litters will be more expensive than others.
| Litter box liners | $18/year |
| Litter | $200/year |
| Deodorizing spray or granules | $20/year |
| Vacuum for litter box area | $35 |
| Dedicated trash can | $30 |
| Litter mat | $25 |
Entertainment
- $0-250 per year
The world is your oyster when it comes to entertaining your cat! An independent outdoor cat could be happy with the odd stuffed mouse or two, but other cats will love playing with a wide selection of toys. You can also invest in pet cameras to keep an eye on your cat while you’re away from home, laser toys to keep them entertained when you’re busy, and even GPS cat trackers so you can see just how far your cat ranges away from home.
Total Annual Cost of Owning a Cat
- $200-4000 per year
The annual cost of owning a cat will vary widely depending on if you choose budget food and litter or buy the best that you can afford. Owning a cat doesn’t have to costs a lot, but can easily end up that way!
Vet visits can also quickly add up, so while some cats may only need to see the vet once a year or even less, others may become a regular visitor to the vet clinic. Our final total doesn’t take into account large vet bills that you may incur if your cat has a serious accident or requires a lengthy stay at the vet’s.

Owning a Cat On a Budget
It’s absolutely possible to own a cat on a budget, so if a kitten that you can’t resist comes up at the shelter, then you may be able to afford them if you’re careful. Economizing on fancy toys and plush beds is totally possible –– most cats love playing with a ball of foil or curling up on the bottom of your bed anyway!
But always buy the best cat food you can afford. It doesn’t have to be organic, just full of good quality ingredients.
Saving Money on Cat Care
As with anything, there are always ways you can cut costs when it comes to cat care! Consider swapping out expensive cat litter for a budget brand, or even using pellets designed for horse bedding instead! These are sold in bulk bags and can work out a much cheaper option in the long run. Plus, they seem to work just as well!
You don’t need to buy fancy water fountains or patent collars. After all, your cat doesn’t care what they drink out of or look like! You can build cat scratching posts, beds, and even outdoor cat enclosures from leftover building materials. Doing this instead of buying new can save you a lot of money.

Conclusion
Owning a cat this year can cost from as little as $200 per year once you’ve covered those initial one-off expenses. But if you choose to buy the best food money can buy, and shower your cat in the latest accessories and toys, then it can cost a lot more.
If your cat has a serious accident or develops an on-going medical condition, then this can cause your costs to skyrocket. Taking out pet insurance might seem like an unnecessary monthly expense, but it can make a difference in the long run.
Food and cat litter will make up the majority of your standard annual costs, and you can save money here by choosing budget options. Whatever your annual costs work out to, your cat will be worth it! Whether you’ve got an affectionate cat who loves cuddles or an independent cat who ignores you until they want something, their companionship is priceless either way.
Featured Image: Image Credit: Meriluxa, Shutterstock
Contents
- Bringing Home a New Cat: One-Time Costs
- List of Cat Care Supplies and Cost
- Annual Expenses
- Health Care
- Check-Ups
- Vaccinations
- Dental
- Treatments for Parasites
- Emergencies
- Medications for On-Going Conditions
- Insurance
- Food
- Environmental Maintenance
- Entertainment
- Total Annual Cost of Owning a Cat
- Owning a Cat On a Budget
- Saving Money on Cat Care
- Conclusion